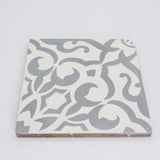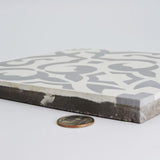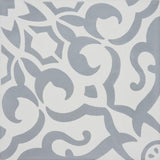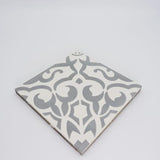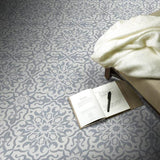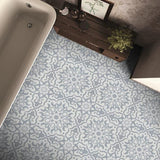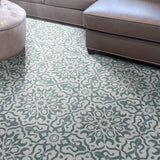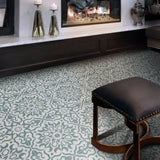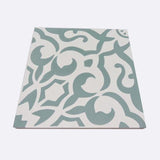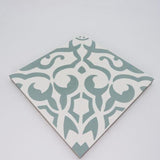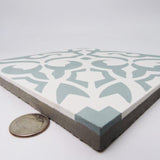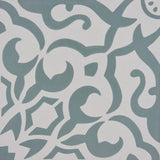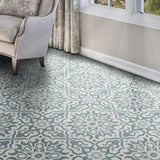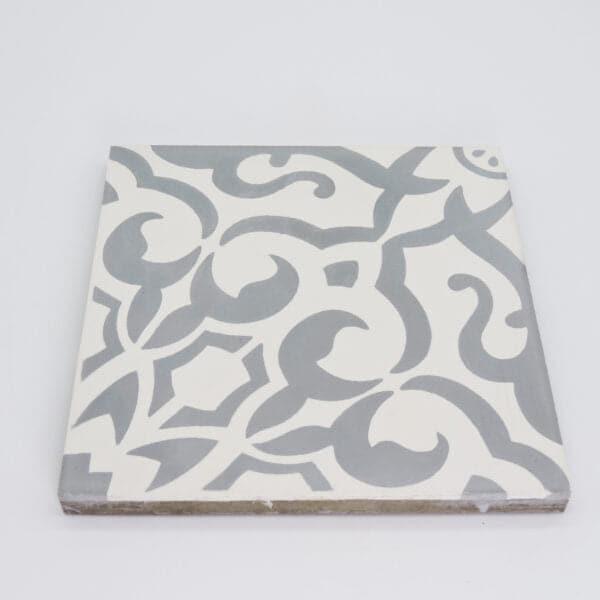
Atlas
TILE
SPECIFICATIONS
& DETAILS
-
About Cement Tile
Smooth as silk, this tile feels as good as it looks. With a matte finish this handcrafted pre-sealed and pre-polished tile is sure to add some style to your space. Each tile is formed by a hydraulic press compressing layers of a mixture of cement, marble dust and mineral pigments for color. These tiles are not fired in a kiln, they are simply formed by using pressure to form the tile.
The colored layer is applied using a wire form to make a pattern. Different colors are poured into each section. Next, the cement layers are poured on top of the decorative colored layer and placed in a press. The final product is a one-of-a-kind tile. A different color variation here, a little different shade over there, you get it. No one is perfect and neither are these tiles. Check out our “How it is Made” tab to see a video of the making of these handcrafted tiles. -
Read this before you install
Step 1: INSPECTOpen all the boxes of tile and make sure you have all the tile you will need to complete your job. We recommend you order 15% overage in case you need some extra tile for your cuts or if there are some imperfections in the tile you can hand select which tile you want to use. Plus, you may want to have some extra tile on hand if you ever want to re-tile an area in the future. Since each tile is made by hand there will be some variations, this is to be expected. Due to the color and shade variations, it is very important to blend the tiles from all boxes once they arrive and place them in their installation area to ensure you have the layout you want before installing. So not install without blending tiles from all boxes.
It is unlikely that your sample will be a perfect match with your actual order. If you are expecting uniform tiles—then cement may not be for you.
Dust and shipping residue are to be expected and should be cleaned prior to installing. Irregular or chipped edges and cracked surfaces are also to be expected and normal. In addition, smudging caused by friction during shipping, and clouding of the tile surface can sometimes occur.
Our recommended 15% overage should cover any smudging or clouding found within an order, however, if needed, tiles can easily be sanded down by hand with 400 grit sandpaper to fully remove any smudging or clouding prior to sealing. Our cement tiles have a pigment layer that is approximately 1/8" thick, so sanding will only effectively remove the top-most micro-layer of the tile surface to access the fresh pigment underneath.
If you notice something out of the ordinary with your tile please contact us now. Once your tiles have been installed we can not help. But are happy to make sure your tiles are as described before you install.
Step 2: HIRE A PROFESSIONALWe highly recommend you hire a professional installer who has worked with cement tile before. Someone who will respect the nature of the tile and take the necessary care to make sure it is installed to perfection.
Step 3: MORTAR, CLEAN AND SEALWe recommend setting the tile with a 1/16” spacer. If you desire a larger grout line to accommodate your design you may do so. Sometimes a larger grout line is desired for outdoor applications. Cement tile is a porous material and therefore we recommend that after you set the tile with mortar you thoroughly clean your tile and add a sealant. If your tile is not completely clean before you apply the sealer you will be in effect sealing any dirt in the tile. So make sure they are completely clean. We sell sealer on our website (link) you may use Miracle 511 Porous Plus for an invisible, water and stain resistant seal.
Step 4: GROUT, CLEAN AND SEALAfter the sealer is applied and thoroughly dry from Step 3 your installer may then grout the tile. If you are using a grout color that is a high contrast from your tile (black grout on white tile for example) you may want to only grout a small area first to make sure the grout is not staining the tile. In this case only grout a small test area. Once you have determined the grout is not staining the tile you may continue grouting the area. If you notice the grout is discoloring the tile you may try sealing the tile again before applying the grout or switching to a less contrasting grout color. Clean the tile as you go. Once the grout is dry you will need to clean the tile again. Once the tile is thoroughly cleaned apply another layer of sealer to the tile and grout.
We recommend using Mapei's Flexcolor CQ grout. We personally love unsanded grout best since it gives more of a smooth appearance but sanded grout will also work well.
Step 5: UPKEEPSince cement tile is always going to be a porous tile you will see some wear on the tile. You can reseal the tile every as necessary. If it is in a heavy traffic area, in a shower or outdoors in direct sun you may need to seal more often. Additionally, sealer may be stripped and resealed as necessary.
Our cement tiles are not UV resistant and will fade over time from sun exposure. Dark colors colors will fade faster than lighter colors. Over time, a natural patina will occur on floors as they are maintained and naturally wear creating a softer appearance in both color and character. We consider this aging process a beautiful feature of our tile. -
Cleaning and maintenance
CLEANINGMild, ph neutral soaps should be sufficient for most cleaning (think Dawn dish soap)—test before general use. Clean using soft materials, like a cloth, instead of rough materials. Avoid harsh chemicals and acidic or alkaline cleaning products. Grout lines can be cleaned with warm water and a soft bristled cleaning brush. Immediately clean up spills—do not allow liquids to sit on the tile surface. Most stains can be removed with a ph neutral dish soap, hot water and the scrub side of a sponge.
Since cement tile is always going to be a porous tile you will see some wear on the tile. You can reseal the tile every as necessary. If it is in a heavy traffic area, in a shower or outdoors in direct sun you may need to seal more often. Additionally, sealer may be stripped and resealed as necessary.


